Aim Offsets
Overview
The Aim Offset is a blend space where sample points are additive animations and are blended in the Mesh Space. It is mainly used to help a character aim or look somewhere with a weapon.
Aim Offset is a special Blend Space asset for processing demands including weapon or character look-at aiming. It only blends the Mesh Space additive type poses and adds the result to the inputted base pose.

Creating Aim Offsets
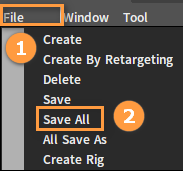
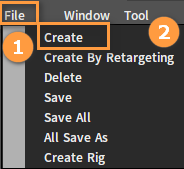
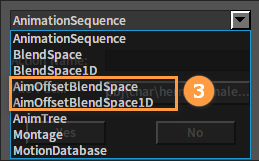
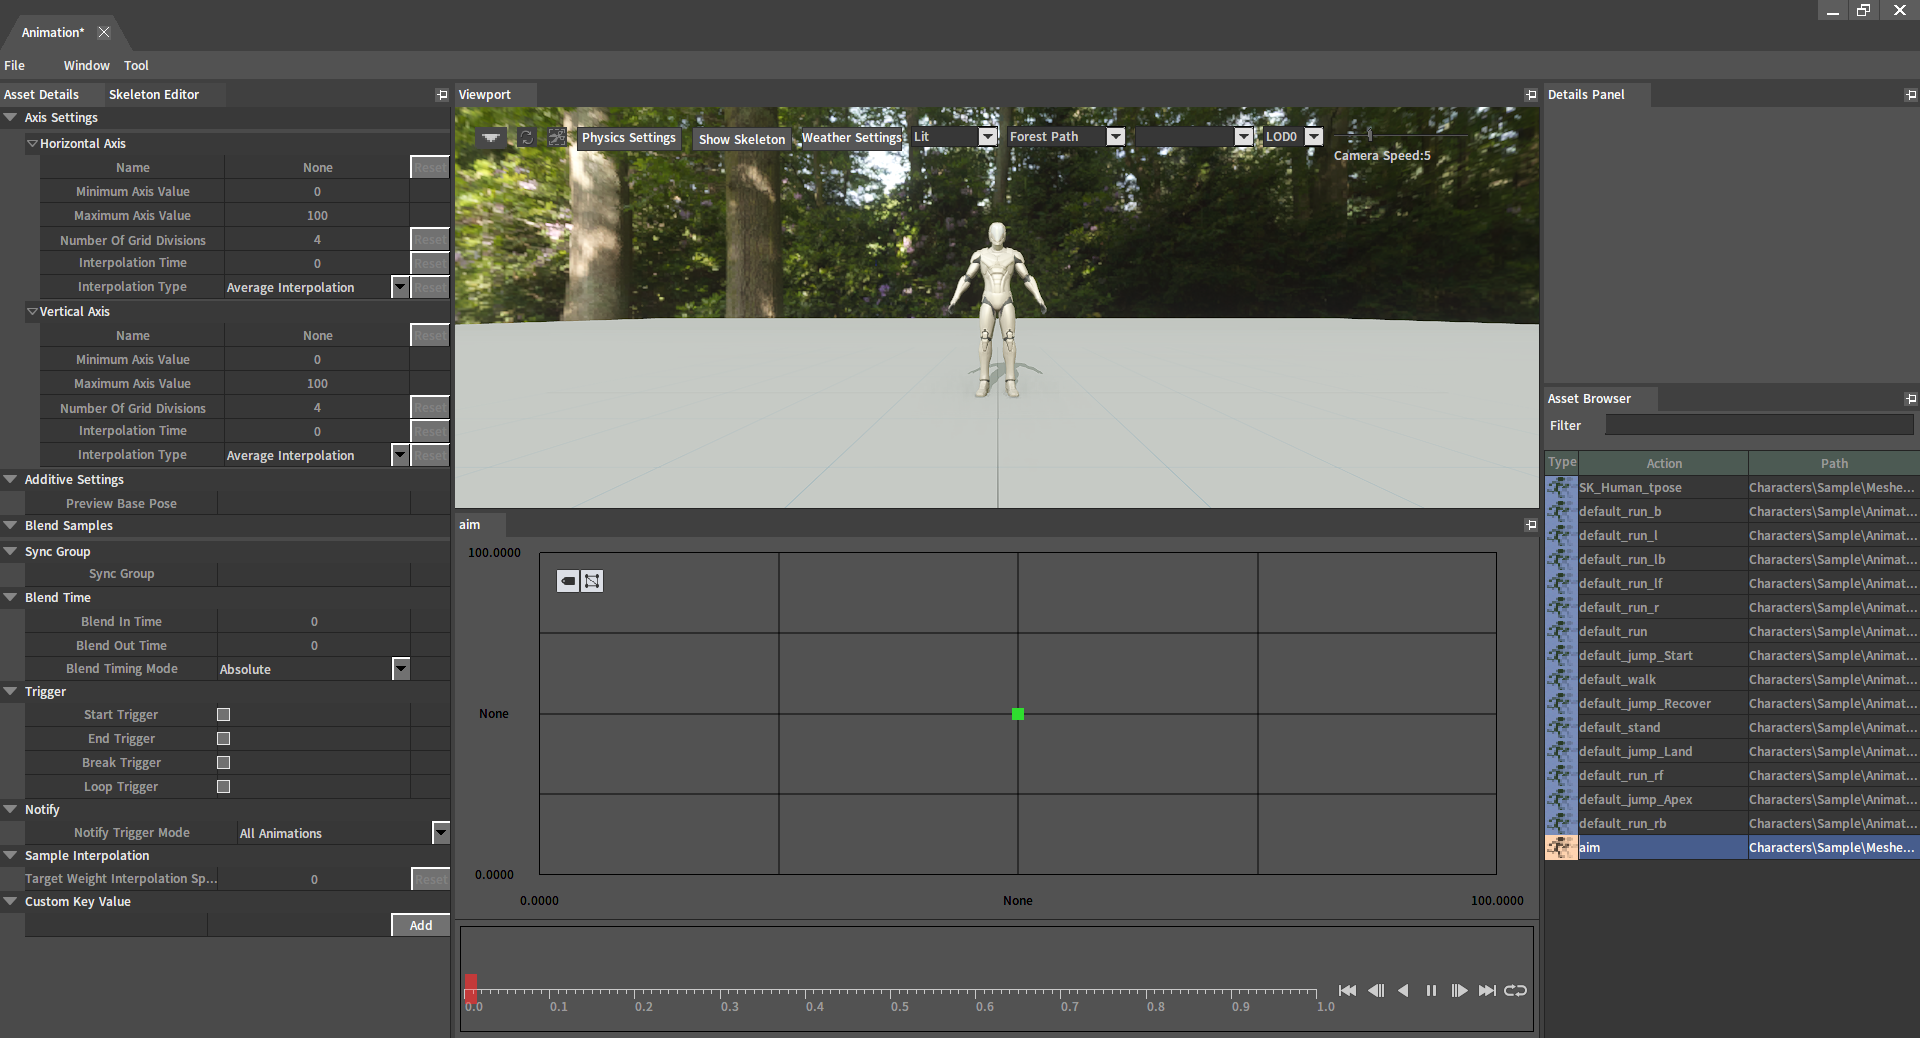
To create an Aim Offset asset in the Animation Editor, click File -> Create to open the asset creation window, then select AimOffsetBlendSpace or AimOffsetBlendSpace1D. Standard Aim Offset supports inputting two variables to control the blend, while Aim Offset 1D supports only one variable.
Enter the Aim Offset asset edit interface for subsequent editing.
Setting Base Poses
In an Aim Offset, different pose animations need to be overlaid, so a base pose needs to be set for the Aim Offset first. Set a Preview Base Pose in the Asset Details panel.
Setting Additive Assets
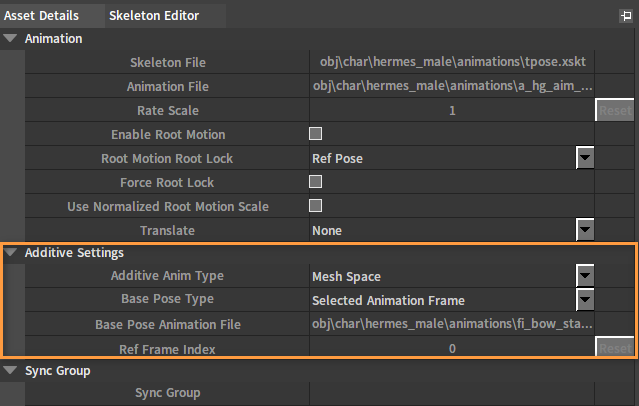
The animation used for the Aim Offset must be of the additive type, and Additive Anim Type needs to be set to Mesh Space.
Set some of the properties of the used animation sequence asset in the Asset Details panel:
| Name | Value |
|---|---|
| Additive Anim Type | Mesh Space |
| Base Pose Type | Selected Animation Frame |
| Base Pose Animation File | Use the same animation as the base pose |
| Ref Frame Index | 0 |
The reason for selecting the Mesh Space instead of the Local Space is that bones in the blended additive animations will move in the same direction regardless of the current base pose, so that there will not be a situation like when the upward aim pose is blended with the tilted base pose, the upward aim pose tilts and does not face up correctly.
Adding Aim Poses
Creating an Aim Offset also requires adding an aim pose animation sample point to its blend chart. You can drag the animation assets directly from the Asset Browser to the corresponding position in the sample grid edit area.

Using Nodes
The Aim Offset supports playback nodes for the animation tree and animation tree slot nodes input.
See Aim Offset Player and Aim Offset 1D Player of Animation Trees for details.
Example
The following is an example of creating an Aim Offset Blend Space asset.
Creating Animation Sequence Assets
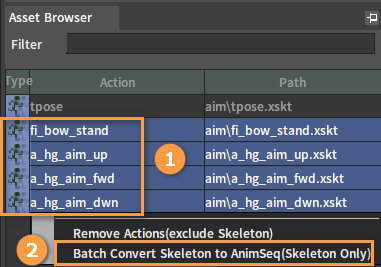
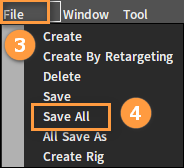
Select four original assets including a_hg_aim_dwn, a_hg_aim_fwd, a_hg_aim_up and fi_bow_stand in the Asset Browser of the Animation Editor. Right-click and select Batch Convert Skeleton to Anim Seq (Skeleton Only) to batch create four corresponding Animation Sequence assets. Then click File -> Save All.

Creating Additive Assets
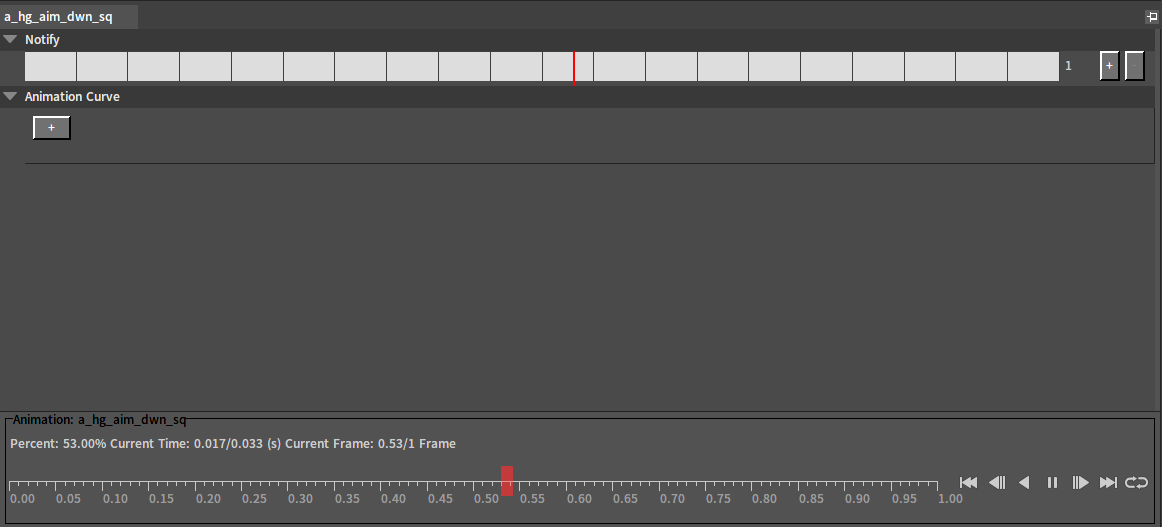
Double-click a_hg_aim_dwn_sq under the Asset Browser to open its edit panel.
Modify the asset in the Asset Details panel.
| Name | Value |
|---|---|
| Additive Anim Type | Mesh Space |
| Base Pose Type | Selected Animation Frame |
| Base Pose Animation File | fi_bow_stand_sq.anim_sequence |
| Ref Frame Index | 0 |
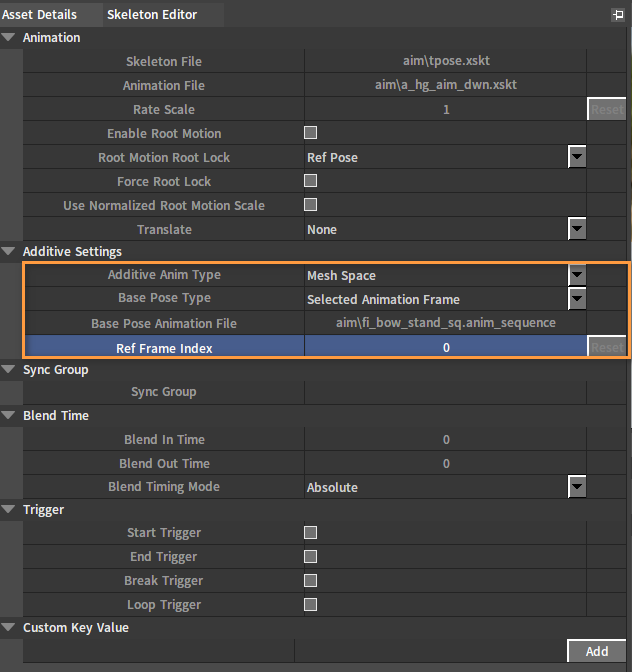
Click File -> Save All after modification. Then a a_hg_aim_dwn_sq_Additive.xskt file will be generated under the current resource directory.
Modify the a_hg_aim_fwd_sq.anim_sequence and a_hg_aim_up_sq.anim_sequence assets in turn.
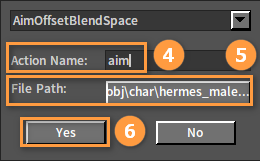
Creating Aim Offset Blend Space 1D Assets
Please refer to the Blend Spaces Creation and Types section of Blend Space to create an Aim Offset Blend Space 1D asset.
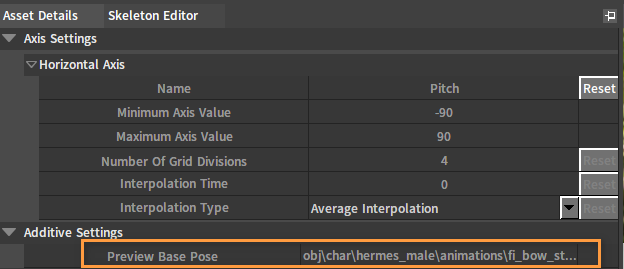
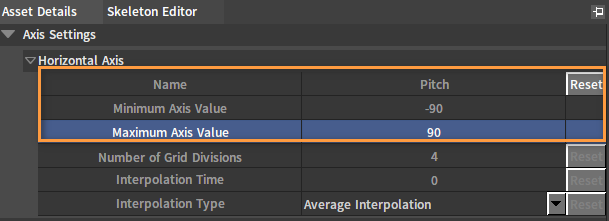
Modify the asset in the Asset Details panel.
| Name | Value |
|---|---|
| Name | Pitch |
| Horizontal Axis: Minimum Axis Value | -90 |
| Horizontal Axis: Maximum Axis Value | 90 |
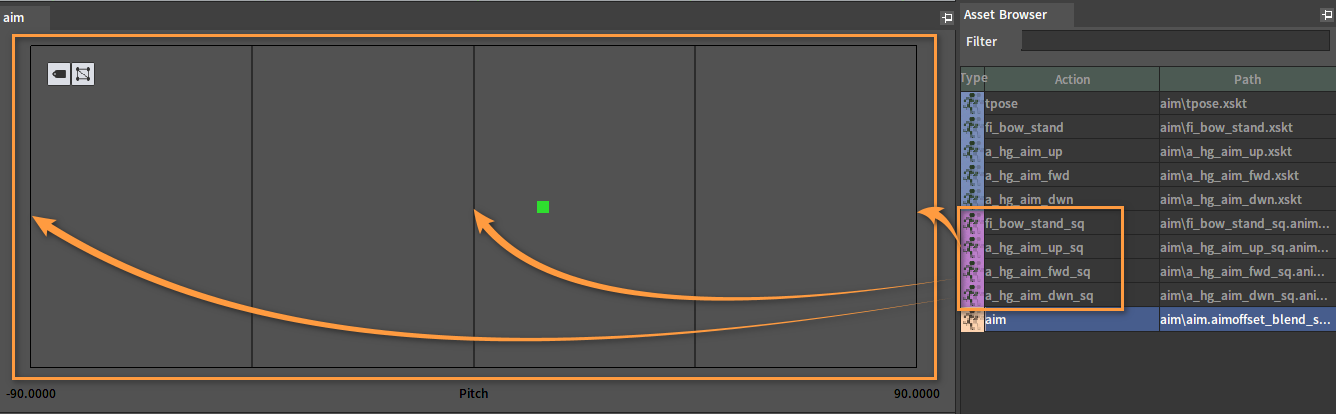
Drag the A_hg_Aim_Dwn_sq, A_hg_Aim_Fwd_sq and A_hg_Aim_Up_sq in the Asset Browser to the grid of the Asset Edit panel.

Modify the Preview Base Pose in the Asset Details panel to fi_bow_stand_sq.anim_sequence.

When finished, click Save All.