Level Panel
Camera (Rotate, Pan, Push in)
Rotate:
Right-click in the Level panel, move the mouse forward, the camera turns up; move the mouse backward, the camera turns down; move the mouse left, the camera turns left; move the mouse right, the camera turns right.
Pan:
Press the middle mouse button in the Level panel, drag the camera, move the mouse forward, the camera pans down; move the mouse backward, the camera pans up; move the mouse left, the camera pans right; move the mouse right, the camera pans left.
Push in:
Slide the mouse wheel forward in the Level panel, the camera pushes forward; slide the mouse wheel backward, and the camera pushes backward.
Save and Restore Camera Position
To quickly toggle some preset cameras, you can use Shift + Number Keys 1-9 in the main keyboard area to save 9 camera positions, and Ctrl + Number Keys 1-9 to toggle them respectively.
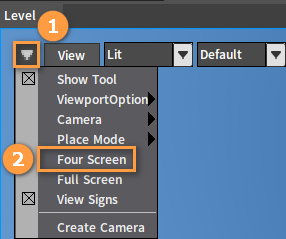
Four Screen
Click ![]() button to bring up the drop-down menu, and click the Four Screen, the following effect will be shown in the Level panel.
button to bring up the drop-down menu, and click the Four Screen, the following effect will be shown in the Level panel.
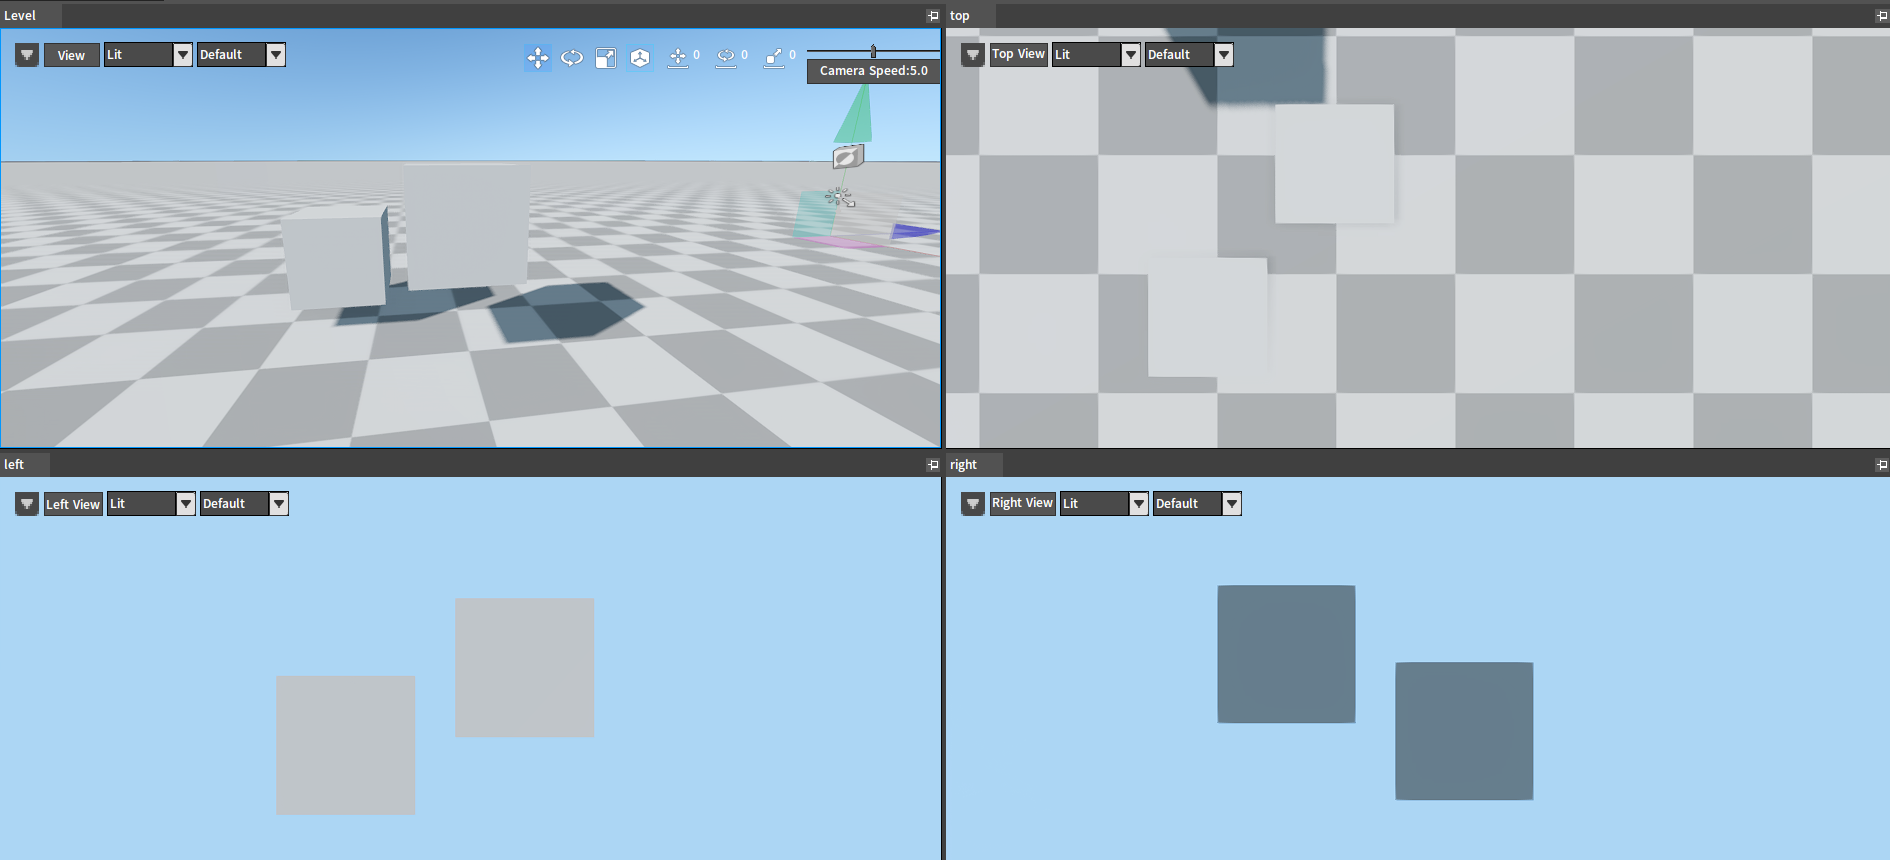
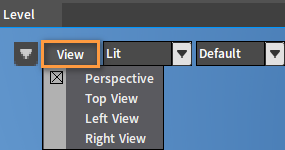
Camera Display Mode
Four display modes: Perspective, Top, Left, and Right.
WireFrame Mode
Click on the drop-down box, there are Lit and WireFrame options, select the WireFrame option to turn on the WireFrame mode, select Lit to turn off the WireFrame mode.

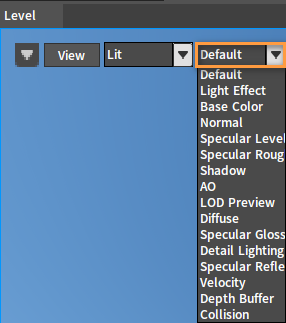
Level Rendering Target
If you need to view the rendering targets, you can click on the second drop-down box, select the rendering target of the level and view the effect.
Editing Mode
There are 3 editing modes, move, rotate and scale, and you can also toggle between local and world spatial reference systems.
Move mode: ![]()
Rotate mode: ![]()
Scale mode: ![]()
Local reference system: ![]()
World reference system: ![]()

Camera Speed
Drag the Camera Speed slider in the upper right corner to adjust the camera speed. The panning speed will change accordingly after the camera speed is modified. Click on the Camera Speed button to bring up a window, you can adjust the Speed Scalar and Inertia parameters in it. The actual speed of the camera is the Camera Speed multiplied by the Speed Scalar. The Inertia of the camera is very similar to the inertia in physics. When you stop the movement of the camera, the camera will continue to move for a short time. The Inertia can be set from 0 to 10. The larger the Inertia value is set, the longer the duration will be.


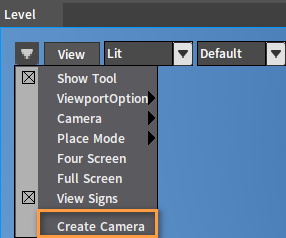
Create Camera
Click on the ![]() button and then on the Create Camera button to create the camera.
button and then on the Create Camera button to create the camera.
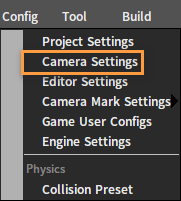
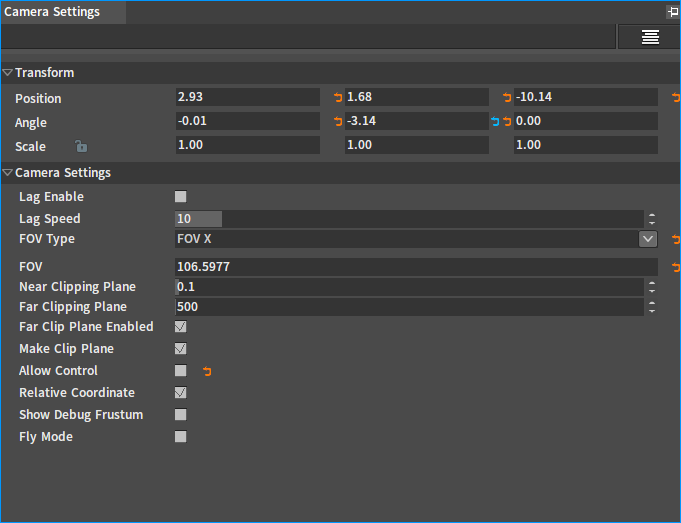
Camera Setting
Click Config -> Camera Setting to open the Camera Setting window, where you can edit the default camera parameters.
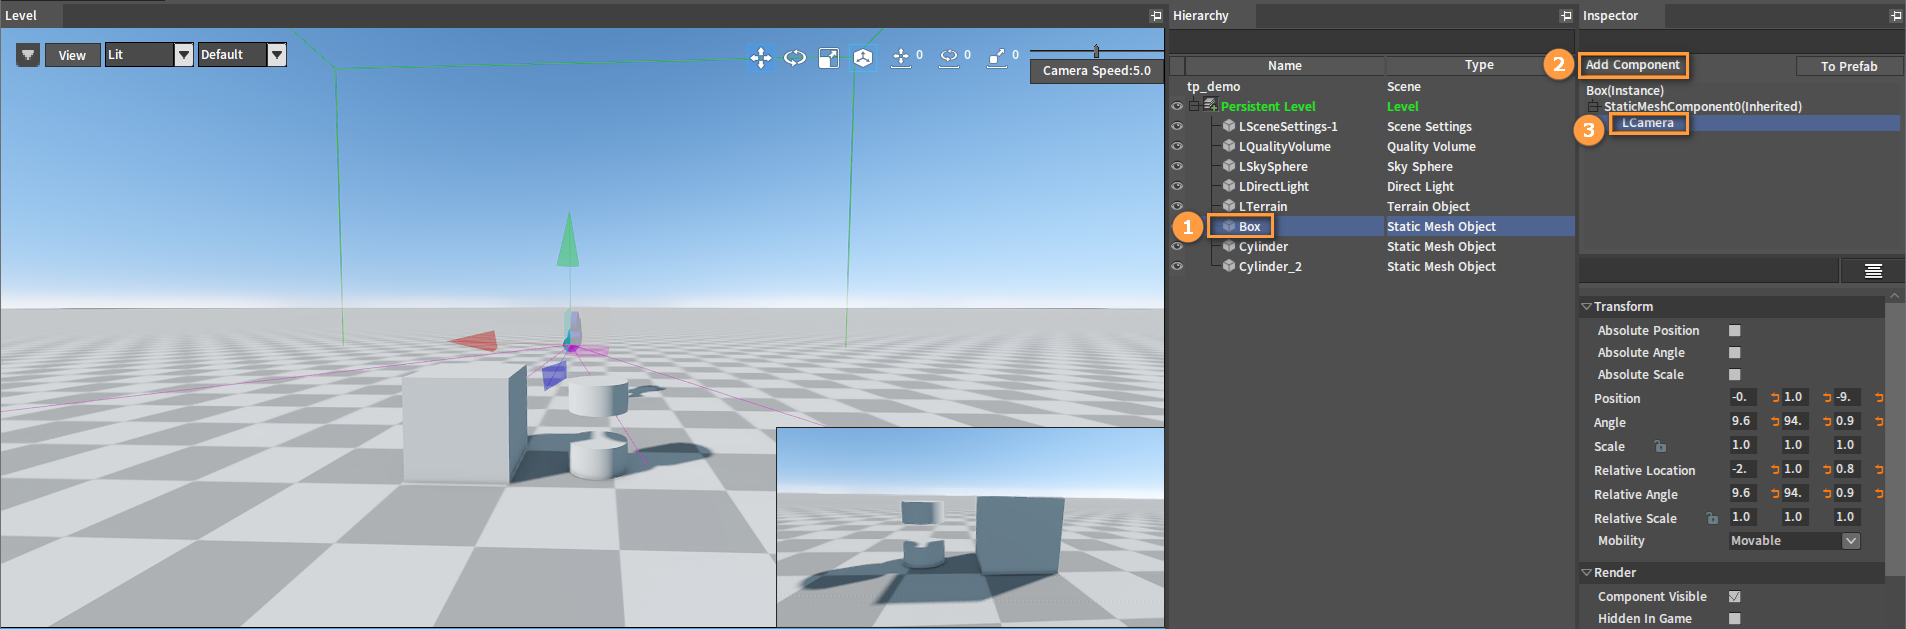
Displaying Rendering Results from Two Cameras
After adding a camera component to the object, click on the camera component to display the rendering results of both cameras in the Scene panel.
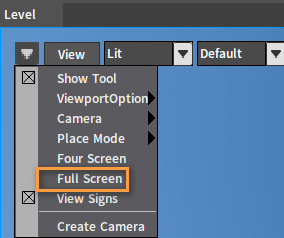
Full Screen
Click ![]() to open the drop-down menu. You can enter or exit full screen by clicking on the Full Screen or using Ctrl + F9 .
to open the drop-down menu. You can enter or exit full screen by clicking on the Full Screen or using Ctrl + F9 .