Quick Start
Creating Projects with Flexi
Creating Projects
Please go to Project (Create Project from Template) for details.
Opening Projects
Please go to Project (Open Project) for details.
Creating New Levels
Please go to Levels (Create Level from Template) for details.
Exporting Meshes
Exporting Meshes from Maya
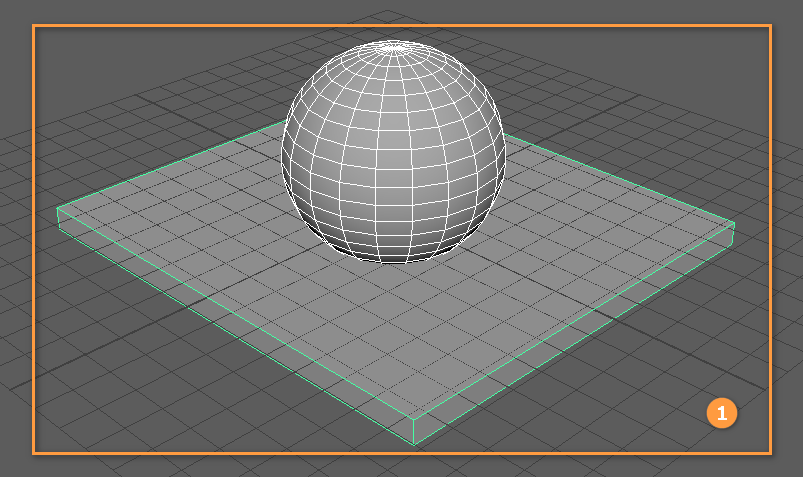
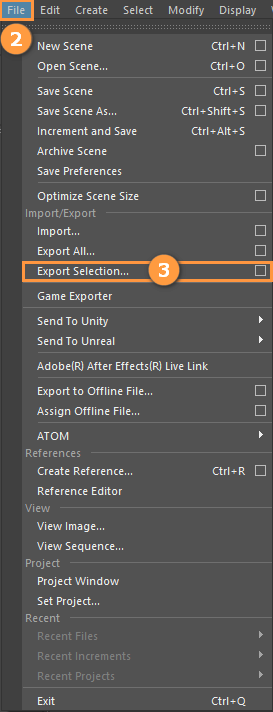
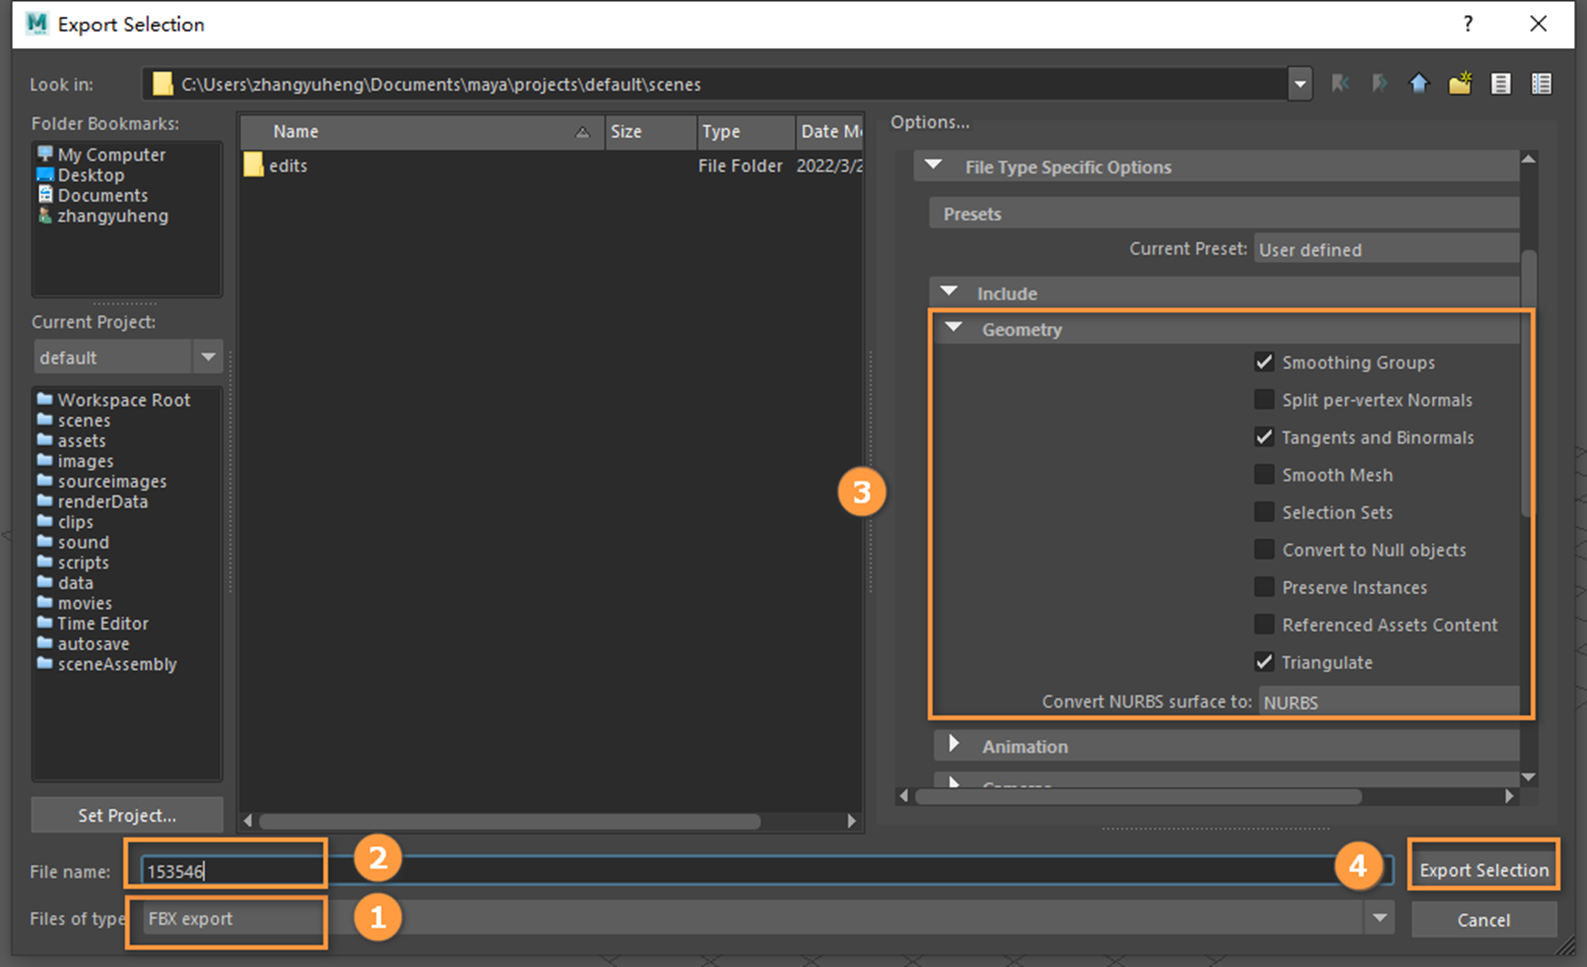
Select the mesh to be exported and click File -> Export Selection to export the mesh.
Select FBX in the Files of type bar and input the name in the File Name bar, after that check the Smoothing Groups, Tangents and Binormals and Triangulate in the Geometry panel.
Click Export Selection to export the mesh.
Exporting Meshes from Max
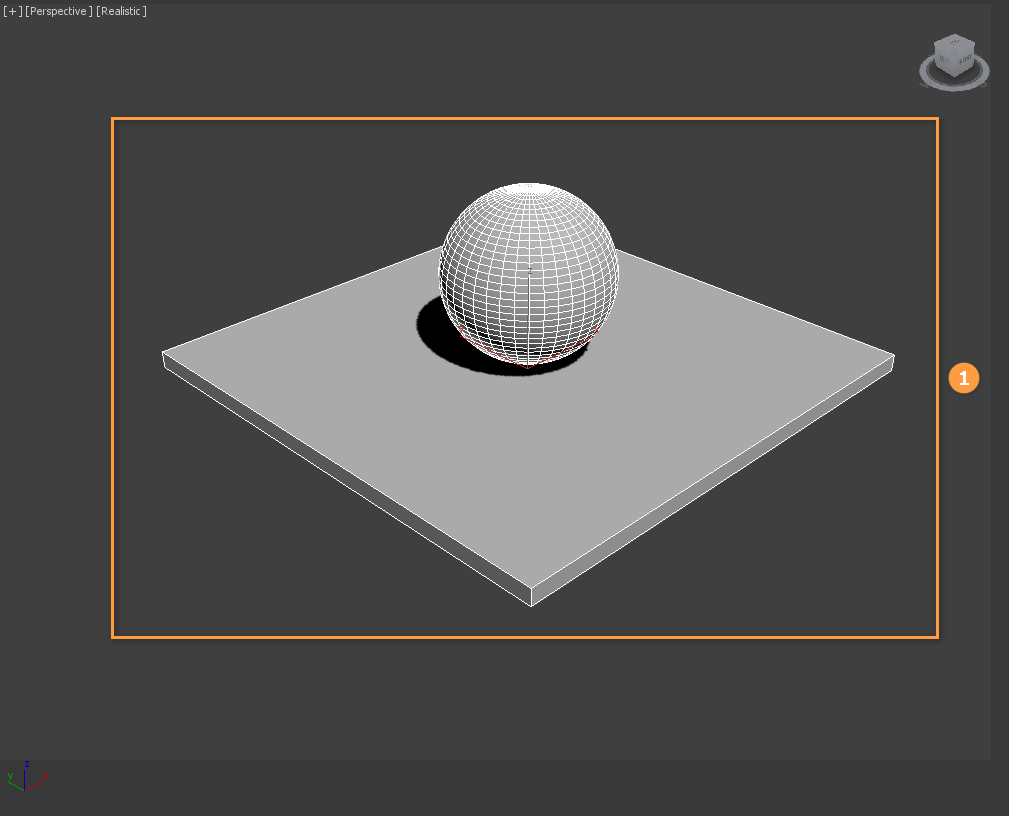
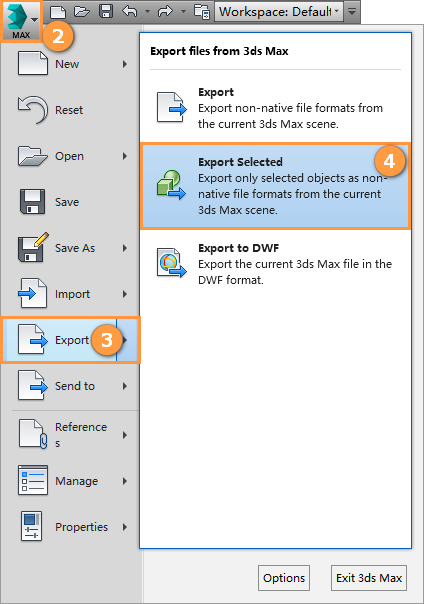
Select the mesh to be exported and then click Max -> Export to select the Export Selected to export the mesh.
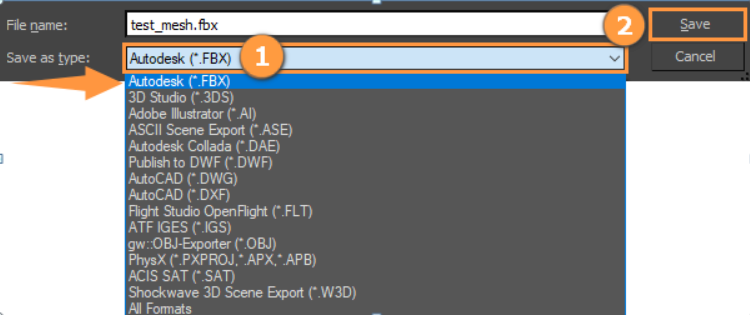
Select FBX format in the drop-down menu and click Save to export.
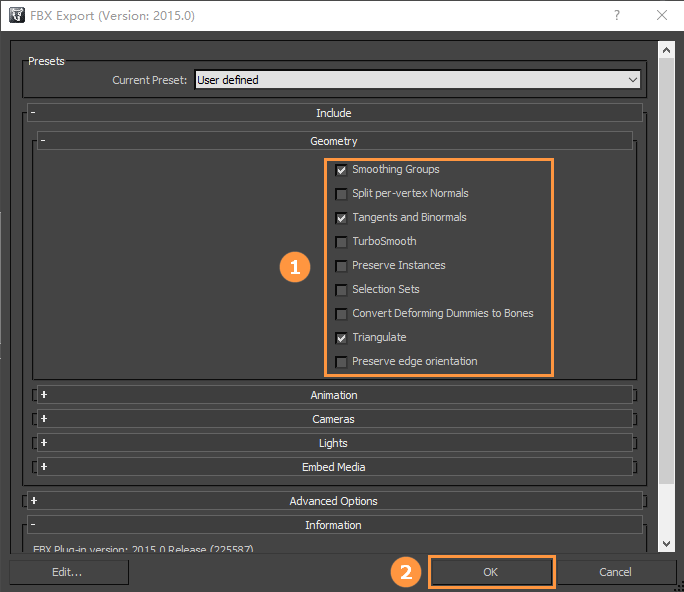
Check the Smoothing Groups, Tangents and Binormals and Triangulate options in the Geometry panel, and click OK to export the mesh.
Exporting Meshes from Blender
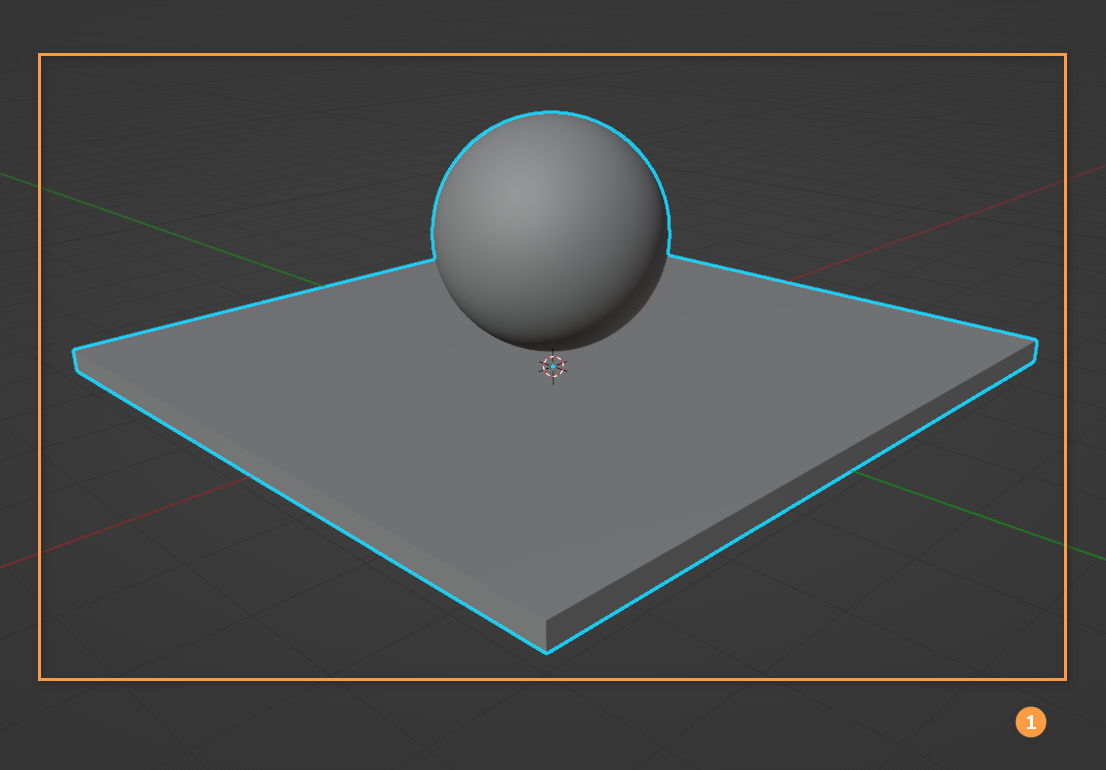
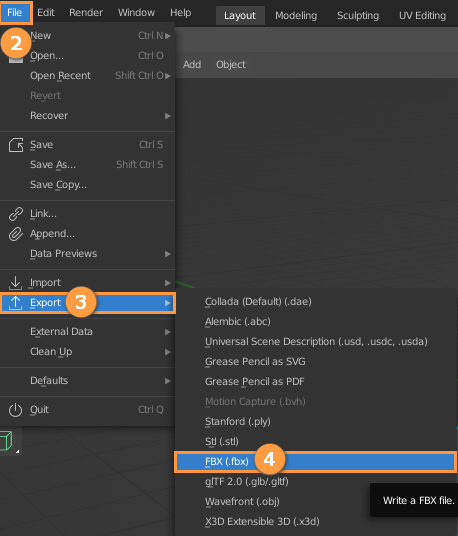
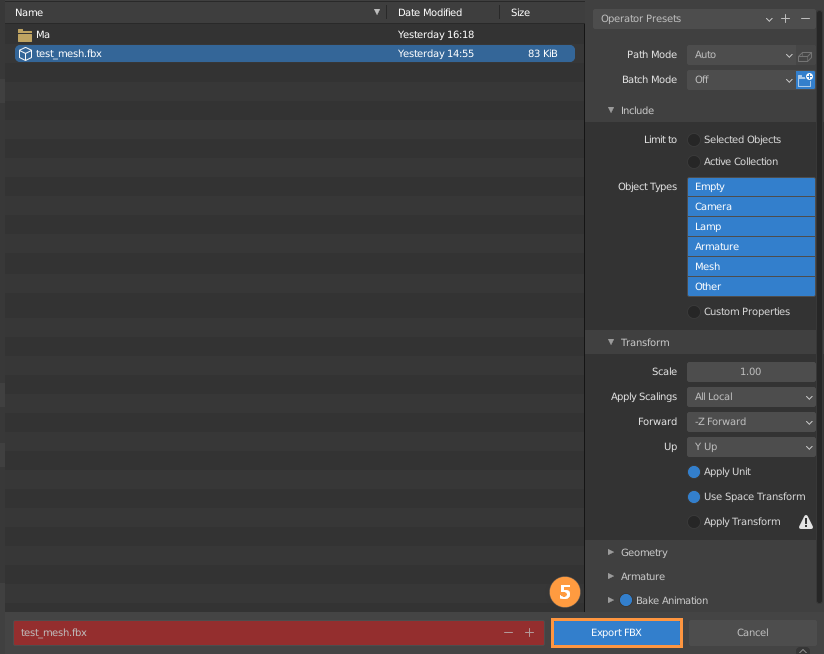
Select the mesh to be exported, and click File -> Export to choose the FBX format, after that click Export FBX to export, and keep all options as default.
Importing FBX Files to Flexi
Importing Meshes
Export the mesh file with materials from MAX in FBX format.
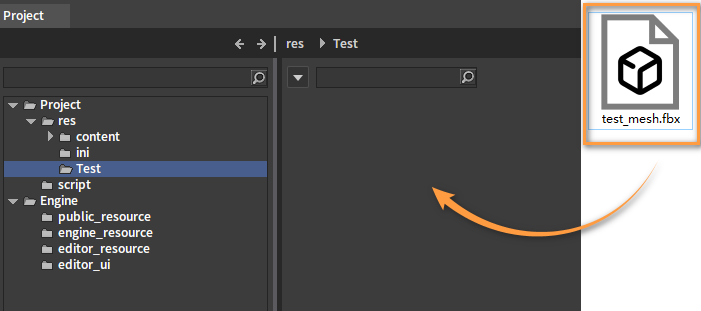
Create and open a folder under the resources directory of the Project panel to store resources.
Find the FBX file to be imported in the System Explorer and drag it to the Engine Resource Preview window.
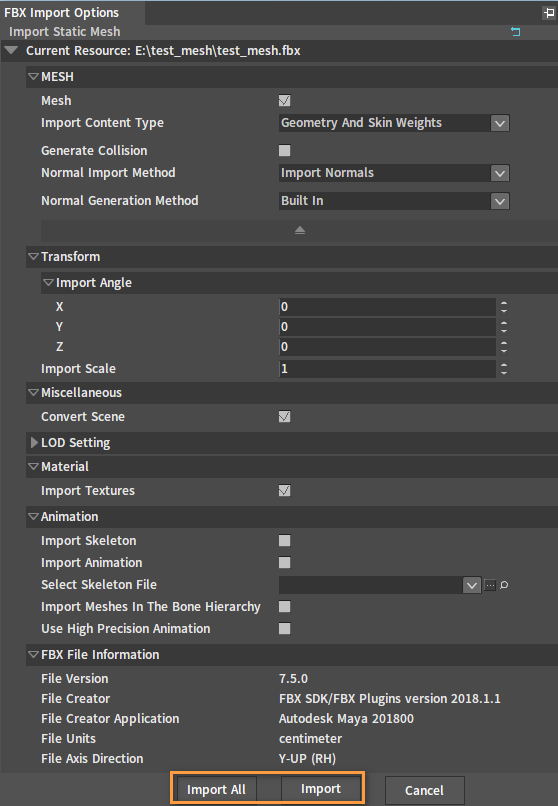
Click Import or Import All in the pop-up FBX Import Options window to complete the process, and keep the rest options as default.
Note that the Import All button allows you to import multiple FBX data at once when dragging in several FBX files.
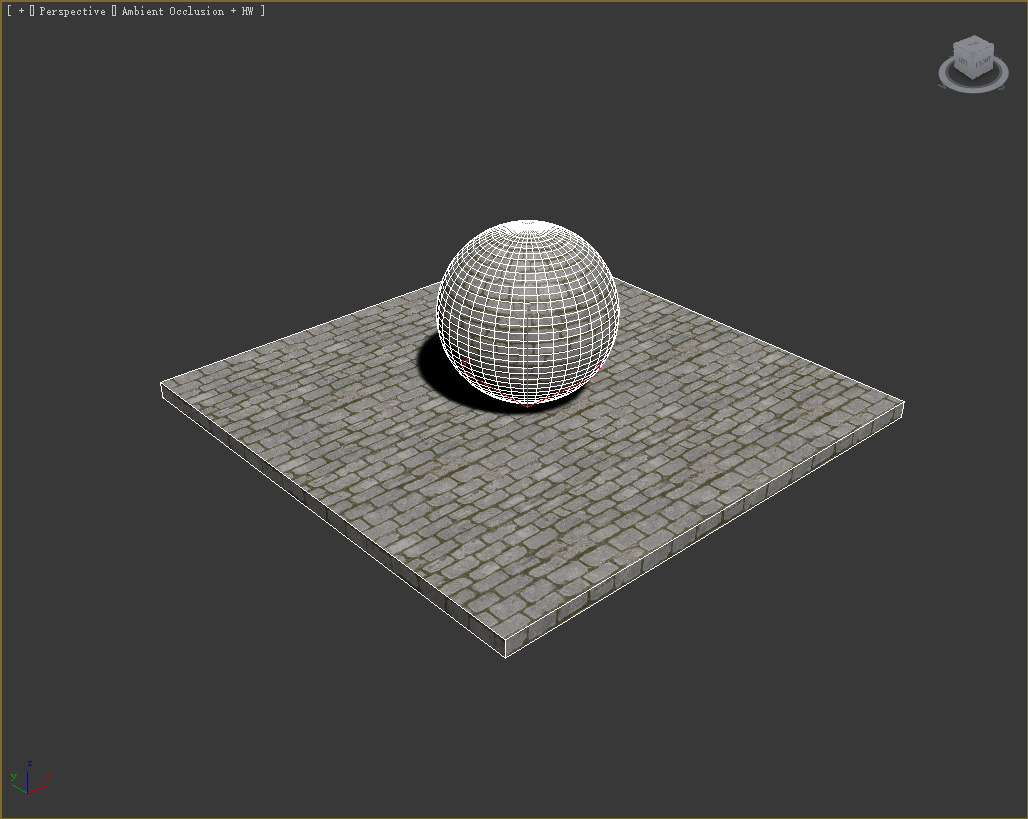
The Engine will automatically identify the map as a mesh.
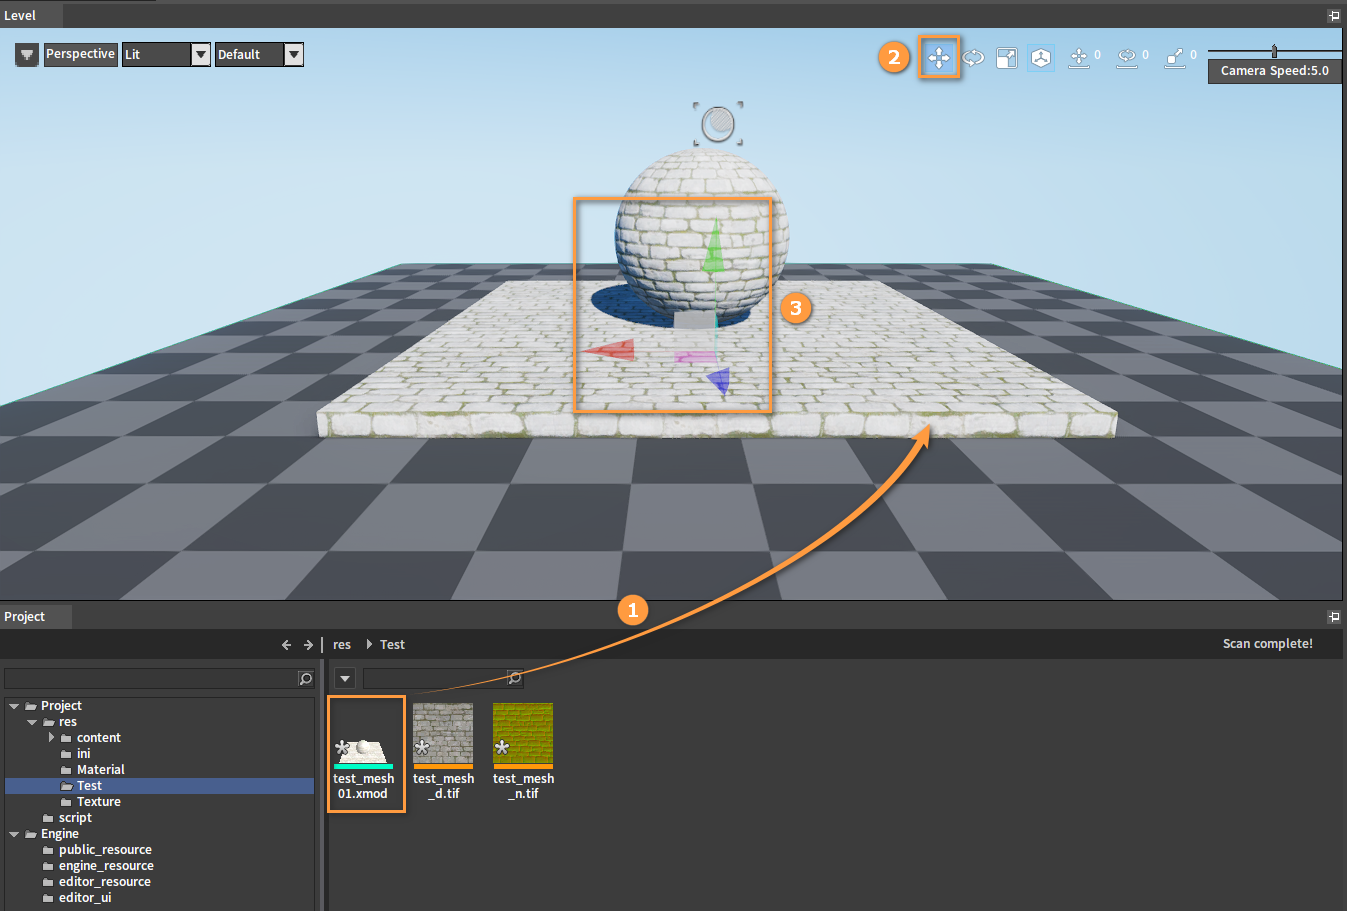
Drag the imported XMOD file into the Level panel. Click the coordinate axes of the model to move it around.
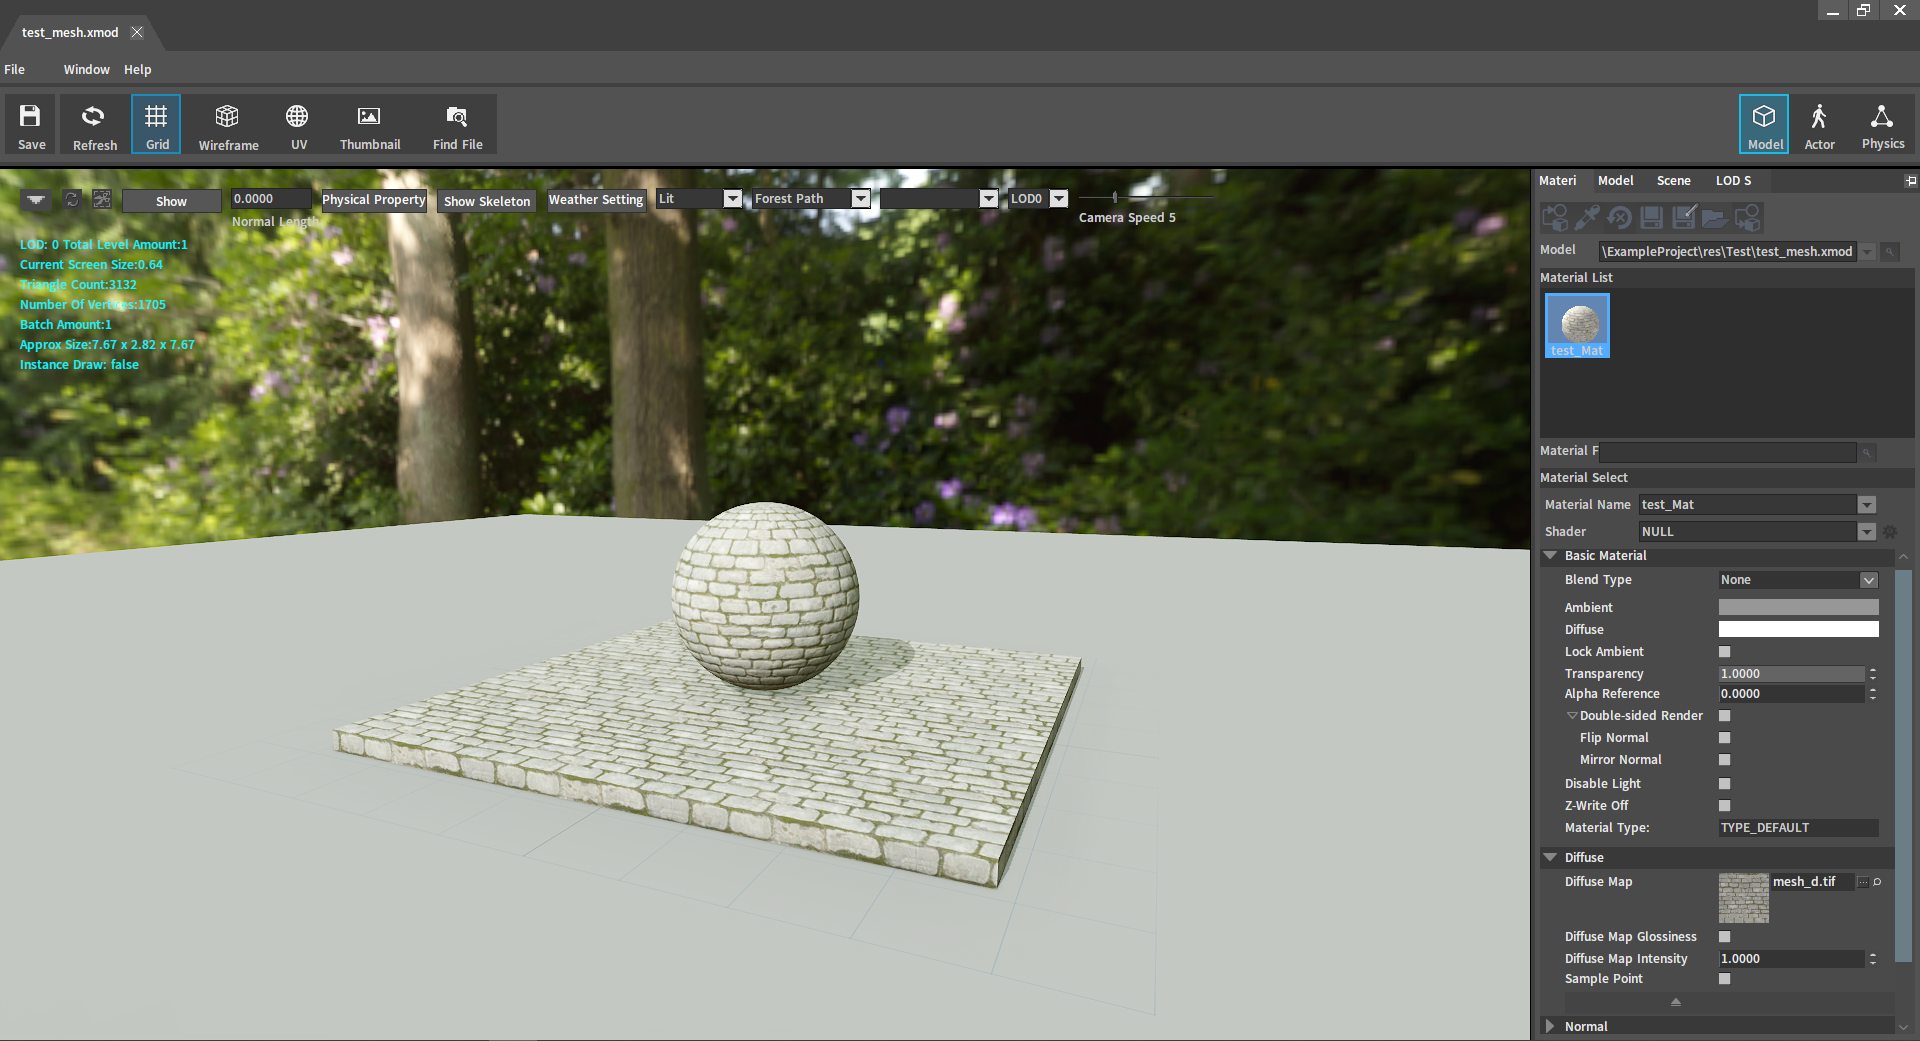
Double-click the XMOD file to enter the model editing panel.
Importing Textures
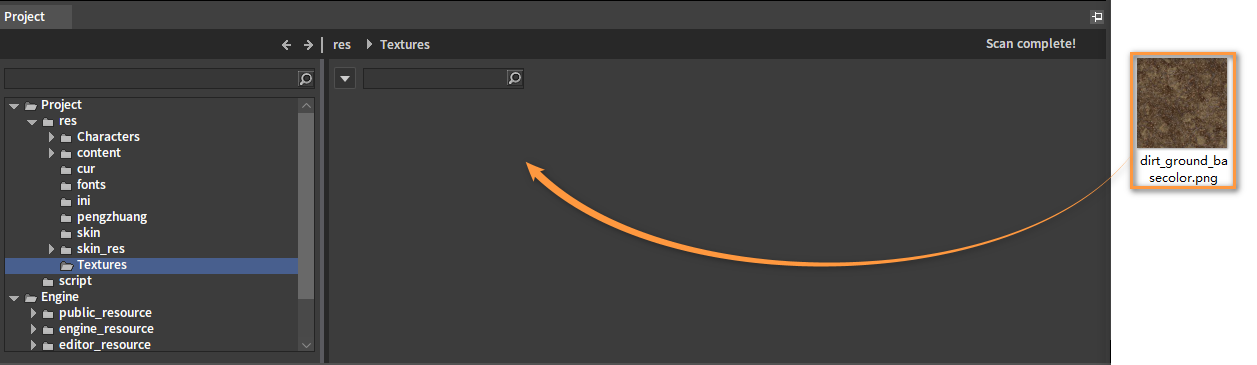
Texture assets can be dragged directly into the Engine Explorer from a third-party system browser.
The Flexi Engine supports .tga, .bmp, .png, .hdr, .tif image formats.
Here take the PNG format image as an example:
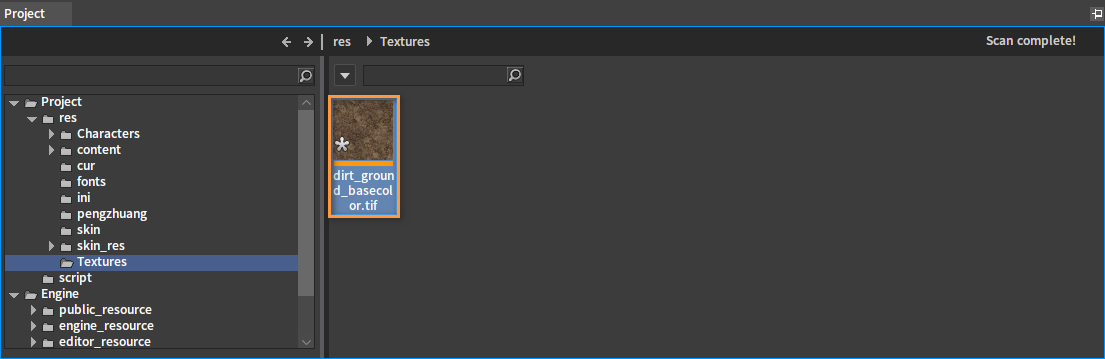
Click OK to convert it to .tif format. Other formats will be automatically converted to the custom tif format for the Engine use.

Click OK to convert the format successfully.

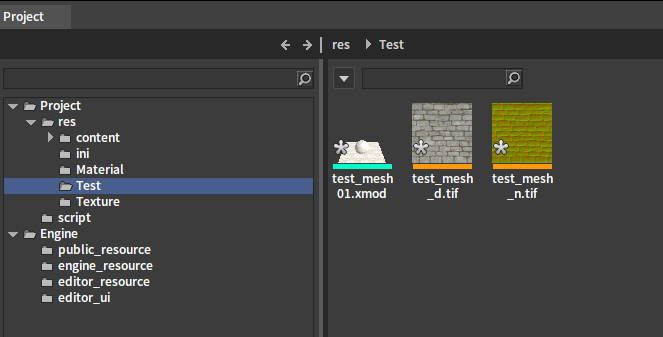
The format has been converted to tif in the Editor, as shown below.
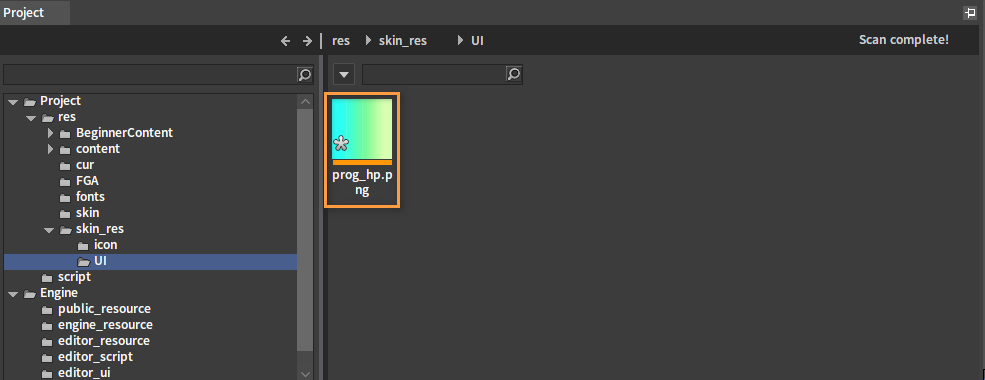
The PNG images will be applied to the UI as well, so click Cancel in the pop-up window that appears when dragging in to keep the original format for import.

Creating Materials
Right-click the blank space of the Resource Preview window and then choose Material to create materials as needed.
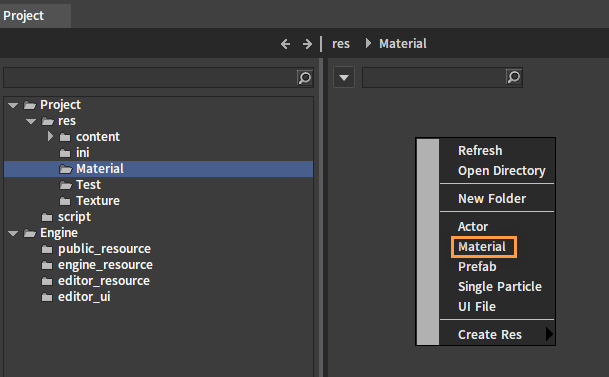
Name the newly created material as Wood.
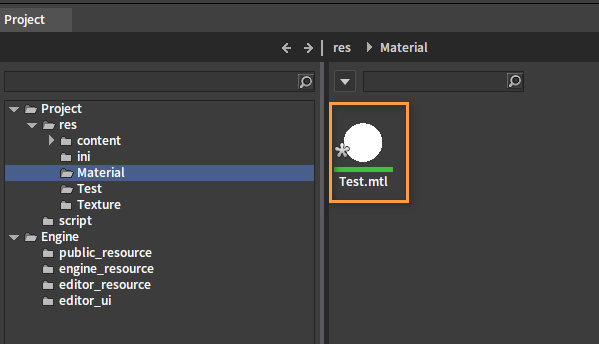
Double-click the newly created Wood to bring up the Material Editor window to modify its properties.

Editing Materials
Editing the properties of the Material:
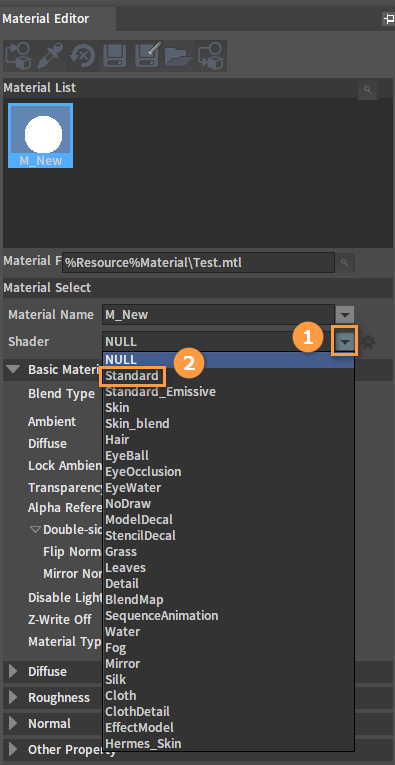
Shader
Click the triangle icon on the rightmost of the Shader box to display various material types.
Click the material type as needed, here we choose Standard.
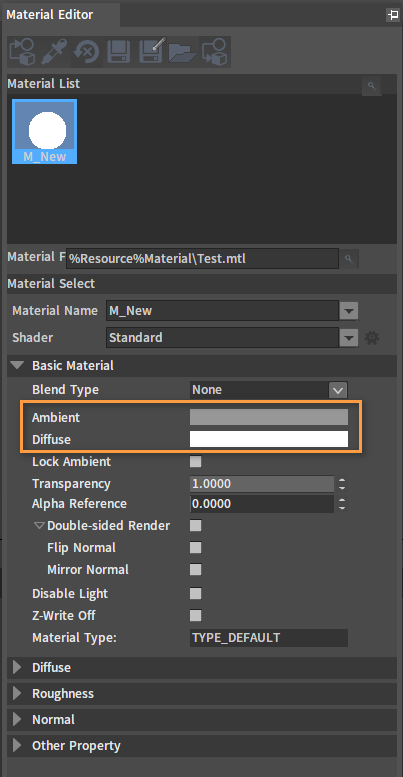
Basic Material
Click the color area in the Ambient or Diffuse box to adjust the material color.
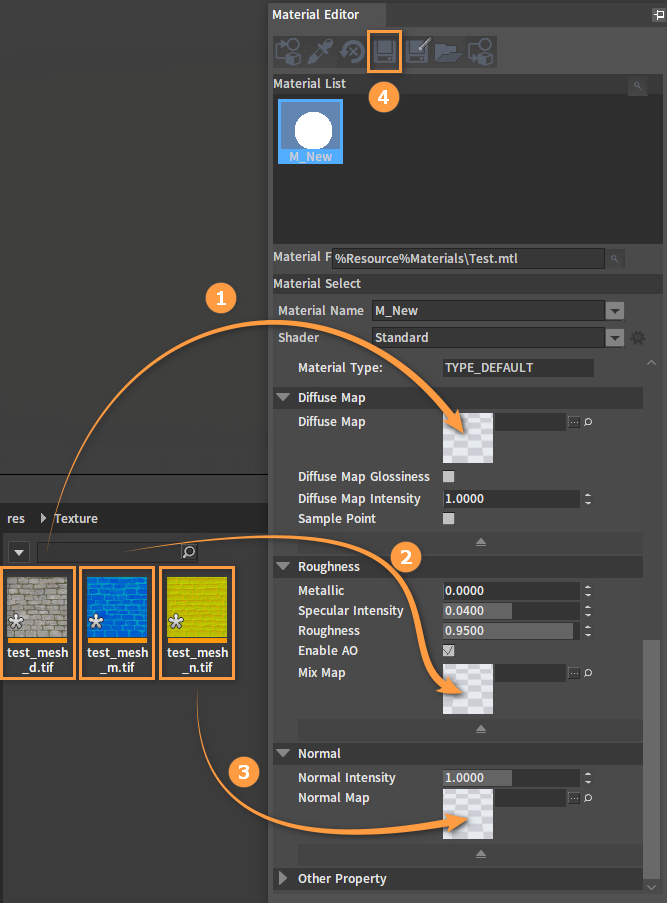
Apply Map to Material
Diffuse Map: Channel 3 or Channel 4; Channel RGB stores diffuse color; Channel A stores the transparency for translucent or Alpha tested materials.
Mix Map: Channel 3 or Channel 4; R: Metallic; G: Roughness; B: Specular Intensity, A: AO. Available for PBR processes like Metallic and Roughness. It needs to be distinguished from the processes of Specular and Glossiness.
Normal Map: Channel 3 and Channel RGB store normal maps.
Click Save after editing the material properties.
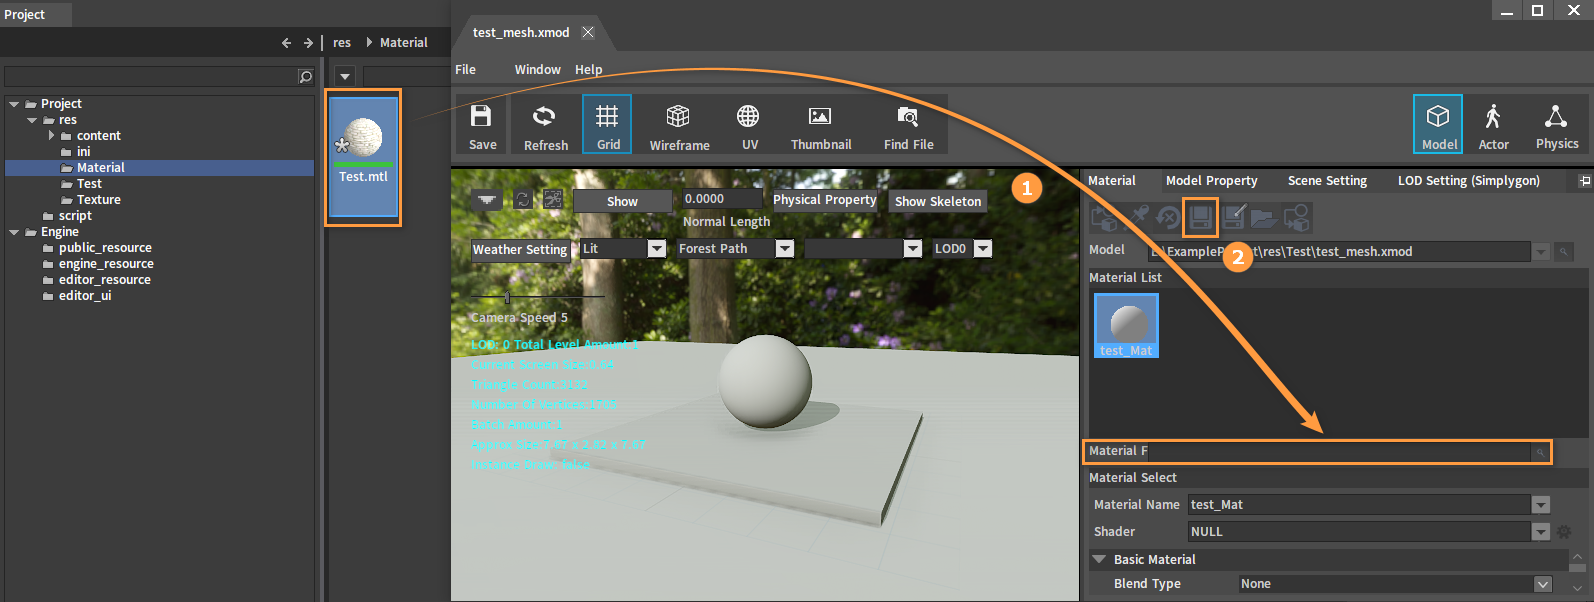
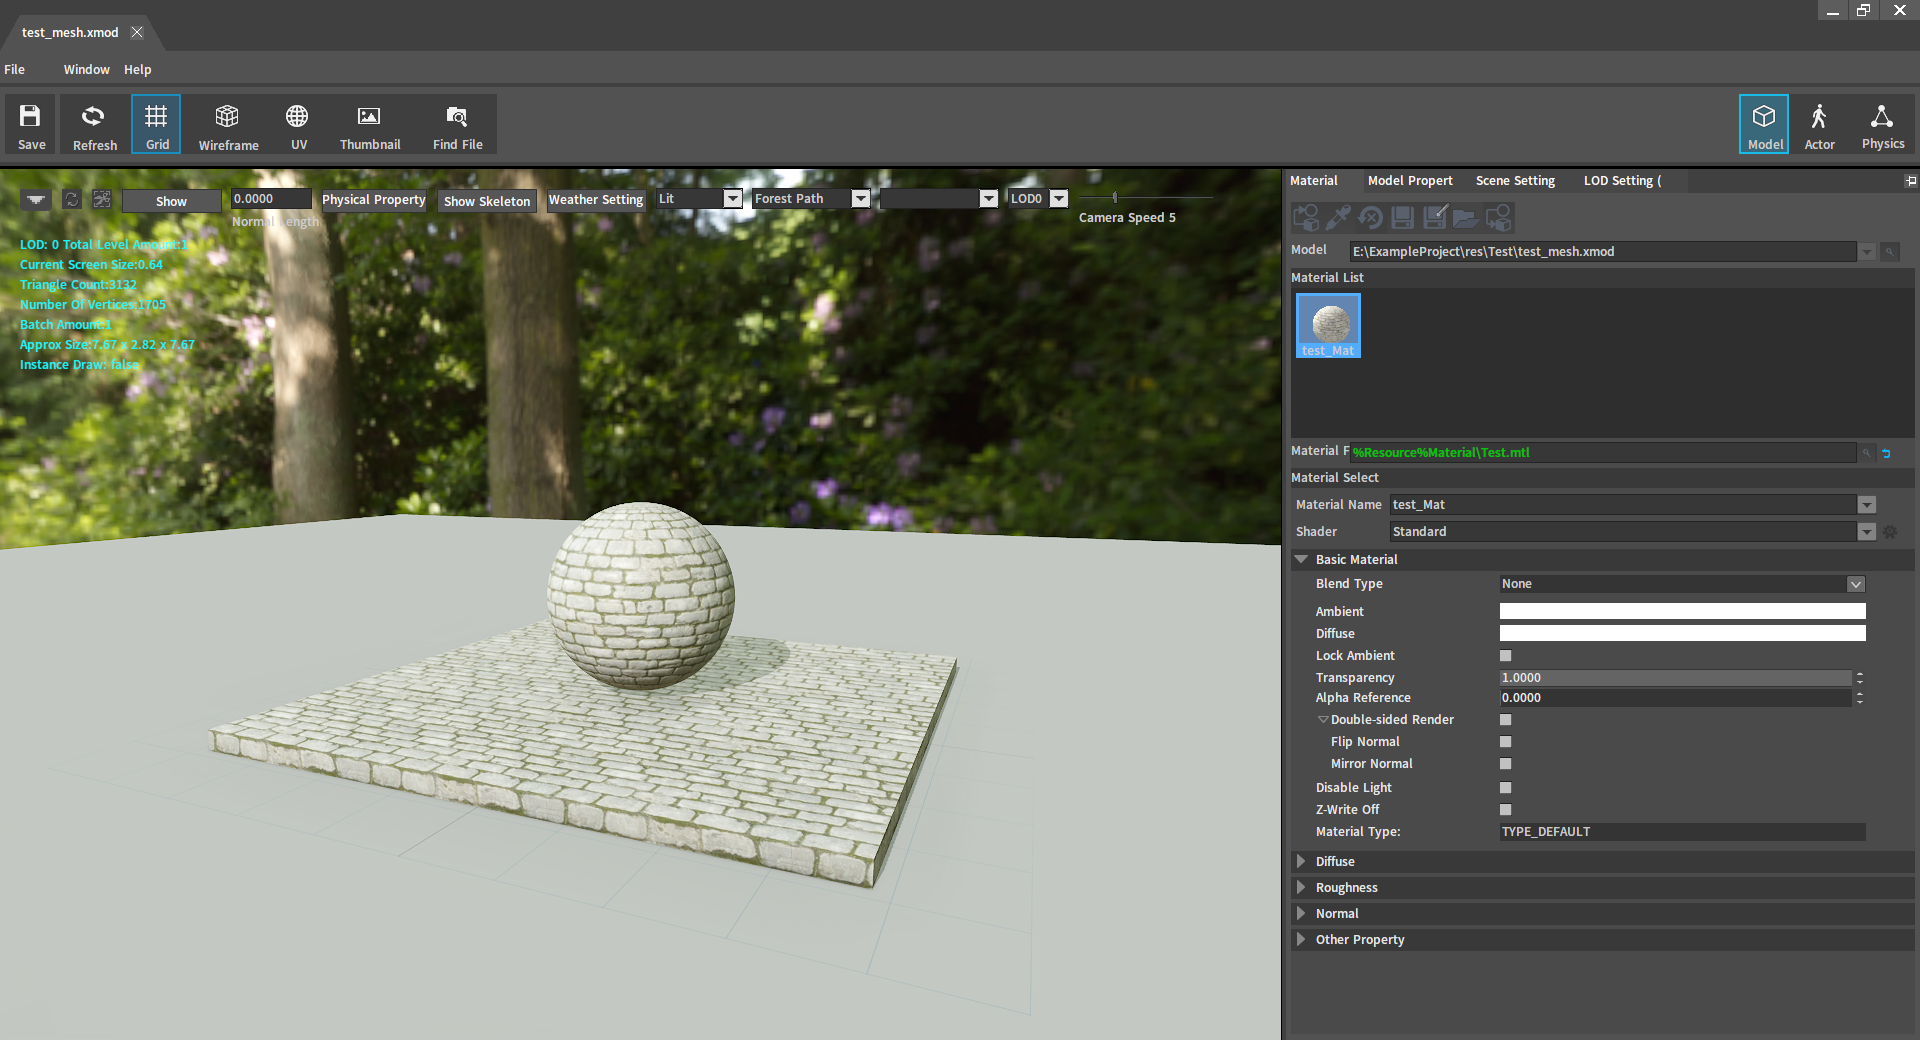
Applying Materials to Mesh Actors
Double-click the XMOD file to open the Inspector panel and drag the edited Wood material into the Material Name, after that click Save button to apply the material to the mesh Actor.